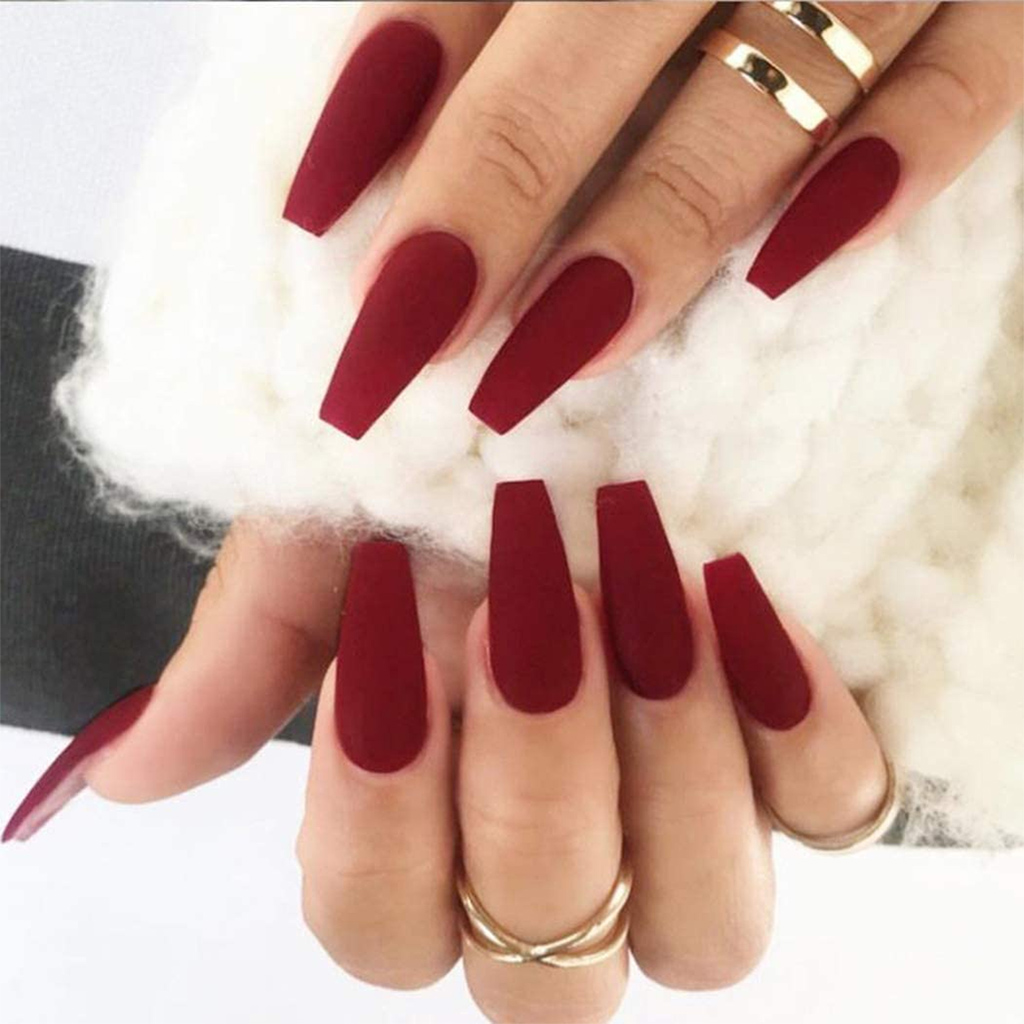
Every woman dreams of having the most attractive nails. They have excellent choices like dip powder manicure, gel polish, and acrylic nails. Each of these manicures has its advantages. For example, dip powder is one of the easiest manicures that last comfortably long. Gel polish provides one of the most attractive finishes, whereas acrylic provides excellent long nails capable of lasting more than four weeks comfortably.

Beginners can find it challenging to get acrylic nails because it has one of the most complex procedures amongst the three manicures discussed here. This acrylic nail guide can prove helpful to them. If you have short nails, acrylic is the way to go. Let us now learn how to get the best acrylic nails in town.
Guide to Get the Best Acrylic Nails for Beginner
Get your acrylic nail powder kit ready
Your acrylic nail powder kit should be handy because it contains all the ingredients necessary for an excellent acrylic manicure. In addition, the kit includes the following tools.
- Prepping tools like cuticle pusher, nail file, buffing block, nail prep/dehydrator, lint-free wipes, cuticle oil, pinching tool, etc.
- Manicure tools like acid-free nail primer, dappen dish, acrylic nail brush, acrylic powder, acrylic liquid, top coat, nail tips, nail glue, acetone, manicure brush, etc.
It is better to buy acrylic powder of good quality to ensure a high-quality manicure.
Prep your nails well
Prepping your nails is the first step in any manicure. The most crucial aspect of nail prepping is pushing the nail cuticles into their grooves. The idea is not to have any part of the nail cuticle on the nail surface. Instead, you can massage the cuticles gently with cuticle oil to keep them smooth and hydrated.
Your nail buffing block helps remove the shine and oils from your nail surface. However, you should swipe the block softly to avoid serious injury to your nail bed. Finally, you can remove the debris using a manicure brush, or lint-free wipes dipped in acetone. It helps remove the oils and residual nail polish from the nail surface.
Apply a nail tip
If you have long nails, you can dispense with the nail tip. However, they are essential if your nails are short because they help elongate them. When choosing the nail tip, you should select the correct size that fits snugly.
Apply nail glue to the nail tip at the end that meets your nail. Hold the nail tip and press it firmly on the nail for 10 seconds until you feel it has stuck. If you find that the tip has moved slightly, you can use a pinching tool or tweezers to hold it in place.
Use the nail cutter to trim the nail tip to your required length. Then, file the tip into the shape you prefer. Newbies can go for the oval or almond-shaped tips. However, it depends on your preferences. When filing the nail tip, you should not start from underneath the tip as it can rip it off. If the tip does not blend well with the nail, you will feel a ridge. Buffing over the ridge can help smoothen it.
There should be no dust on your nail tip. Hence, you clean your nails using lint-free wipes dipped in acetone or alcohol. Finally, you apply the nail primer to the nail bed and allow it to dry. It will leave a white matte finish on your nail.
Apply the acrylic
Pour some acrylic liquid into the dappen dish. Dip your acrylic brush into it and remove the air bubbles. Swipe it off over the edges to get excess liquid off it.
Dip the brush into the nail acrylic powder and twirl it until you create a tiny ball of dip nail acrylic powder. However, the ball should be entirely dry. If it remains wet, it will not stick well. So you have to redo the process.
Press the brush over a lint-free wipe to drain off the excess liquid from it. Next, apply the acrylic ball to the nail base near the cuticle and extend the bead to the nail tips. It is better to tilt your nail downwards to prevent the acrylic liquid from flowing into the cuticles.
Remove the bumps by pressing the acrylic brush on your nails and spread the liquid evenly. If you require more acrylic on your nails, you can repeat the above procedure.
Hold on to the nail tip using a pinching tool and tap the nail. It should make a ting sound to ensure that the nail tip has dried completely. File the entire nail, especially around the edges, and shape the nail tip properly. You can now proceed with the topcoat application. The topcoat should dry adequately for an excellent finish. If you have a UV lamp, you can use that. Otherwise, wait for a couple of minutes to airdry the topcoat. Tap your nails to get a clicking sound.
Final Thoughts
Your acrylic nail is now ready. You can buy acrylic powder and your acrylic nail powder kit from our web store. We have quality products that can ensure a perfect acrylic nail manicure.
